
Night guards protect teeth from grinding, easing jaw pain and preventing damage. They fit snugly over molars, cushioning forces during sleep. Proper use reduces headaches, preserves enamel, and improves sleep quality. Follow instructions carefully for best results. Wear it nightly for maximum protection!!
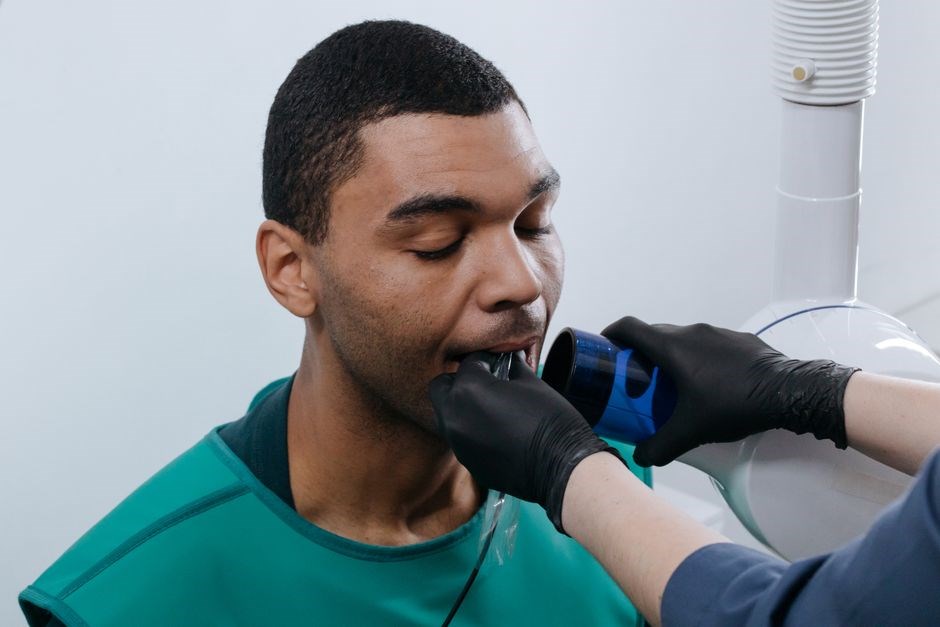
Types of Night Guards
Night guards come in several varieties, each suited to different needs and budgets. Custom‑made guards are fabricated from a dental impression or digital scan, ensuring a precise fit that follows the unique contours of your teeth. They offer superior comfort, durability, and protection, especially for severe bruxism. Boil‑and‑bite guards are a semi‑custom option: a heat‑activated sheet is softened in hot water, molded to the teeth, and then cooled. They are more affordable than fully custom guards but still provide a better fit than off‑the‑shelf models. Over‑the‑counter (OTC) guards are pre‑formed, ready‑to‑wear devices that fit a range of mouth sizes. While convenient, they may not accommodate irregular tooth alignment and can shift during use. Thin‑film guards are lightweight and less noticeable, making them popular for those who dislike bulky devices; however, they may offer less cushioning for heavy grinding. Dental‑office‑made guards can be fabricated on the spot with a quick impression, combining convenience with a custom fit. Each type balances cost, comfort, and effectiveness, so choosing the right one depends on the severity of grinding, oral anatomy, and personal preference.
Materials vary from rigid acrylic to flexible silicone, affecting both longevity and wearability. Thicker guards provide more shock absorption but may feel bulky, while thinner designs reduce bulk but can wear faster. Some manufacturers incorporate memory‑foam layers for added comfort, especially for patients with temporomandibular joint (TMJ) issues. When selecting a guard, consider the frequency of use: daily wearers often benefit from high‑quality custom or boil‑and‑bite options, whereas occasional users may find OTC models sufficient. Always consult a dentist for a professional evaluation, as they can recommend the most suitable type based on your bite pattern, jaw alignment, and grinding intensity.
How to Choose the Right Guard
When evaluating a guard, consider the fit test: place it in the mouth, close gently, and check for any pressure spots. If the guard feels tight or causes discomfort, it may need adjustment or a different material. Additionally, ask about warranty and replacement policies—durability matters when the guard will be used nightly. Finally, serve you better. A chosen guard can transform your nights daily
Choosing the right guard is a personal decision that balances comfort, durability, and cost, ensuring long‑term protection and peace of mind daily. now today.
Ensuring a Proper Fit and Comfort
Start by inspecting the guard for gaps or uneven surfaces. A good guard sits flush against the teeth and does not force the jaw into an unnatural position. If it feels too tight, warm it in lukewarm water for a few seconds, then re‑insert to test the new contour. A properly molded guard should allow the jaw to relax, reducing clenching and preventing soreness the next day.
- Check pressure points: While wearing the guard, close your mouth slowly and feel for spots that press hard against molars or incisors. Discomfort indicates the guard may need adjustment or a different thickness;
- Assess comfort during sleep: A comfortable guard feels like a second skin, allowing you to sleep without noticing it.
- Trial period: Most manufacturers offer a short trial. Use the guard for a week, then evaluate fit and comfort. If it still feels off, consider a custom‑fit option or a softer material.
If you have a history of bruxism, consult a dentist to determine the appropriate thickness and material. Some guards feature a dual‑layer design for cushioning and durability. For severe grinding, a thicker guard may offer extra protection but could feel heavier. Follow the manufacturer’s guidelines for wearing time and cleaning to maintain comfort over months.
When the guard feels snug, test it by biting down on a soft object like paper. The guard should cushion the bite without allowing teeth to touch. If you hear a clicking sound or feel a tug, the guard may be too tight. Consistent use helps the jaw adapt, but always monitor for signs of discomfort or pain.
By paying close attention to fit and comfort, you can enjoy a pain‑free night and protect your smile for years to come.

The Importance of Wearing the Guard Regularly
Consistency is key. Skipping nights lets teeth shift, making the guard ill‑fitted. Daily wear keeps the bite aligned, cushions grinding forces, and conditions jaw muscles to reduce clenching and headaches.
If the guard feels tight after a break, warm it in lukewarm water (not hot) for a few seconds before re‑inserting. This softens the material and restores comfort; otherwise, discomfort or jaw strain may occur.
Nightly use prevents enamel wear and protects against tooth sensitivity. A guard worn every night extends tooth life and cuts the need for costly repairs, turning a small habit into long‑term protection.
Make it a routine by pairing guard use with brushing or setting a nightly reminder. Keeping the guard visible—next to the toothbrush—helps you remember to wear it, and consistency lets your dentist monitor progress during treatment.
After a month of regular wear, inspect the guard for wear marks or cracks. Even a well‑fitted guard can degrade; replace it if it shows signs of wear to maintain effectiveness.
Regular guard use also improves sleep quality by reducing nighttime awakenings from jaw pain. Patients report deeper, more restorative sleep when the guard is worn consistently.
By preventing tooth damage, you avoid costly fillings or crowns. The initial investment in a guard pays off over years of saved dental work.
Remember that a well‑fitted guard is a long‑term investment in your oral health. Consistent nightly wear not only protects your teeth but also gives you peace of mind, knowing you’re actively managing bruxism and preserving your smile for the future.
Stay consistent, enjoy a pain‑free smile;

Cleaning and Maintenance After Each Use
After removing your night guard each morning, rinse it immediately with lukewarm water. Use a soft toothbrush and mild, non‑abrasive soap to gently scrub the interior and exterior surfaces. Avoid toothpaste, as its abrasives can scratch the protective coating and reduce durability.
Once rinsed, allow the guard to air‑dry on a clean towel or a dedicated stand. Do not place it in a hot environment or use a hair dryer, as excessive heat can warp the material and compromise fit.
For deeper cleaning, soak the guard in a denture or mouthguard cleaning solution for the duration recommended by the manufacturer—typically 15–30 minutes. Rinse thoroughly afterward to remove any residue.
Inspect the guard for any visible wear or cracks before each use. Minor scratches are normal, but significant damage may necessitate replacement to ensure continued protection.
Store the cleaned guard in a breathable case or container to prevent moisture buildup and bacterial growth. Keep it away from direct sunlight and high temperatures, which can degrade the polymer over time.
By following these steps daily, you maintain the guard’s integrity, extend its lifespan, and keep your oral environment clean and healthy.
Remember that a well‑fitted guard is a long‑term investment in your oral health. Consistent nightly wear not only protects your teeth but also gives you peace of mind, knowing you’re actively managing bruxism and preserving your smile for the future.
Adopt this routine and enjoy a pain‑free, restorative sleep every night for years daily.
After removing your night guard each morning, rinse it immediately with lukewarm water. Use a soft toothbrush and mild, non‑abrasive soap to gently scrub the interior and exterior surfaces. Avoid toothpaste, as its abrasives can scratch the protective coating and reduce durability. After rinsing, allow the guard to air‑dry on a clean towel or a dedicated stand. Do not place it in a hot environment, as excessive heat can warp the material and compromise fit.
To maintain optimal hygiene, soak the guard in a denture or mouthguard cleaning solution for 15–30 minutes once a week. Rinse thoroughly afterward to remove any residual cleaner. Store the guard in a dry, ventilated case to prevent moisture buildup. Avoid placing it in a sealed plastic bag, as trapped humidity can lead to mold growth. Regularly inspect the guard for cracks or wear; replace it promptly if any damage is detected.
For long‑term durability, avoid exposing the guard to extreme temperatures. Do not leave it in a hot car or near a heater. Also, refrain from using harsh chemicals or bleach, as they can degrade the material. If you notice any discoloration or a persistent odor, clean it more thoroughly or consider replacing it. Following these simple steps ensures your night guard remains comfortable, effective, and safe for years.
Remember, a well‑maintained night guard protects teeth and improves sleep. Consistent care extends its life, saves money, and keeps you pain‑free. Clean nightly, and your guard stays in top shape for years andlasting comfort.

Common Issues and Troubleshooting Strategies
Even a well‑designed night guard can encounter problems that affect comfort and effectiveness. Common complaints include sudden tightness, slippage, or gradual loss of fit after a few nights of non‑use. If the guard feels too snug, gently warm it in lukewarm water (not hot) for a minute or two, then rinse and re‑insert; the material will soften and return to its original shape. A guard that slides off during sleep often indicates that the teeth have shifted slightly or that the guard’s edges are worn. Inspect for scratches or cracks; any damage should prompt a replacement rather than a DIY fix.
Using toothpaste or harsh chemicals such as bleach or mouthwash can erode the protective coating, making the guard feel rough or sticky. Always rinse with lukewarm water immediately after removal, then brush with a soft toothbrush and mild, non‑abrasive soap. For deeper cleaning, soak the guard in a denture or mouthguard solution for 15–30 minutes once a week, followed by a thorough rinse. Avoid leaving the guard in a sealed plastic bag or a hot car; trapped moisture and heat accelerate mold growth and material breakdown. Store it in a dry, ventilated case to keep it free of humidity.
When troubleshooting, remember that a guard that has lost its shape or shows visible wear should be replaced. Persistent pain or jaw discomfort after wearing the guard may signal that the fit is no longer correct. Check for cracks after each use; small fissures can grow over time. If symptoms persist, consult a dentist for a professional assessment. Keep the guard clean to prevent buildup.
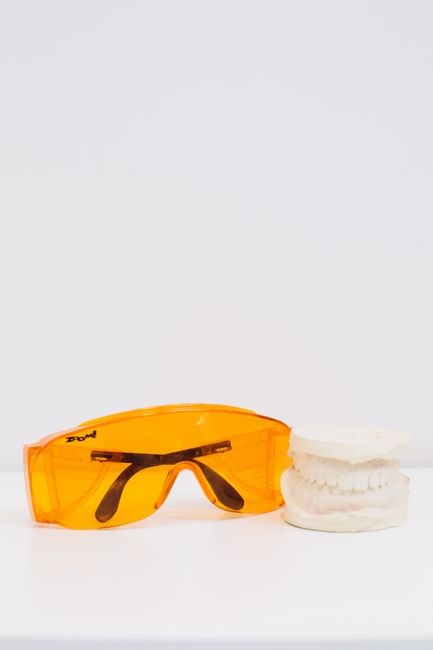
When and How to Replace Your Night Guard
Replacing a night guard is essential when its protective qualities decline, ensuring continued protection against grinding and clenching. Signs that replacement is due include visible cracks, persistent tightness, or a loss of the original fit after a few nights of non‑use. If the guard feels tight after a short break, warm it in lukewarm water for a minute to restore flexibility. A guard that has been stored in a humid environment or exposed to extreme heat may also lose its structural integrity.
Professional guidance recommends replacing a custom guard every 12–18 months, while over‑the‑counter models may last 6–12 months depending on usage. If you notice increased jaw pain, headaches, or a change in bite alignment, schedule an appointment with your dentist to assess whether a new guard is warranted. For DIY or boil‑and‑bake guards, replace them after 4–6 weeks of use, as the material can degrade faster with repeated heat cycles. A custom guard should be replaced sooner if the dentist notes any shift in bite.
To replace, first remove the old guard and clean it thoroughly, then discard it. If you have a custom guard, contact your dentist or dental lab to order a new one; they will take new impressions or use digital scans to ensure a precise fit. For over‑the‑counter options, follow the manufacturer’s instructions for molding a fresh guard: boil the provided mold, cool, and insert your teeth. Always allow the new guard to acclimate by wearing it for a few nights. Store the new guard in a dry case to prevent moisture buildup.
Remember, a well‑maintained guard that fits correctly is your best defense against nighttime tooth wear. Regularly inspect, clean, and replace it as needed to keep your smile healthy and pain‑free. Use a soft brush and mild soap for daily cleaning to extend lifespan. Follow these steps to ensure longevity.

Professional Guidance versus DIY Instructions
Choosing between a dentist‑crafted guard and a do‑it‑yourself kit hinges on fit, durability, and comfort. A professional guard is molded from precise impressions or digital scans, guaranteeing a snug fit that adapts to your bite. The custom design reduces the risk of cracks, ensures even pressure distribution, and typically lasts 12–18 months with proper care.
DIY kits, such as boil‑and‑bake or microwave‑mold models, offer affordability and convenience. The process involves heating a plastic sheet, shaping it over your teeth, and cooling it into place. While many users achieve a satisfactory fit in minutes, the material may be less resilient, and improper molding can lead to discomfort or uneven wear. Users should follow the manufacturer’s instructions closely, using lukewarm water for cleaning and a soft brush with mild soap.
Professional guidance also includes routine check‑ups. Dentists can detect early signs of wear, adjust the guard, and recommend replacements before pain sets in. DIY users rely on self‑inspection and may miss subtle changes. For those with severe bruxism or jaw issues, a custom guard offers tailored support that DIY options rarely match.
Dr. Anthony Lovat, a dentist and founder of OPRO Mouthguards, demonstrates a step‑by‑step video that highlights the importance of proper fit and adjustment. He stresses that a guard should never be soaked in mouthwash or denture cleanser unless the manufacturer specifies, as this can warp the material. The video also shows a simple microwave process for a custom fit that many DIY users adopt.
Ultimately, the decision depends on your budget, severity of grinding, and desire for long‑term protection. Combining professional advice with the convenience of a DIY kit—such as a quick mold from a reputable brand—can provide a balanced solution.
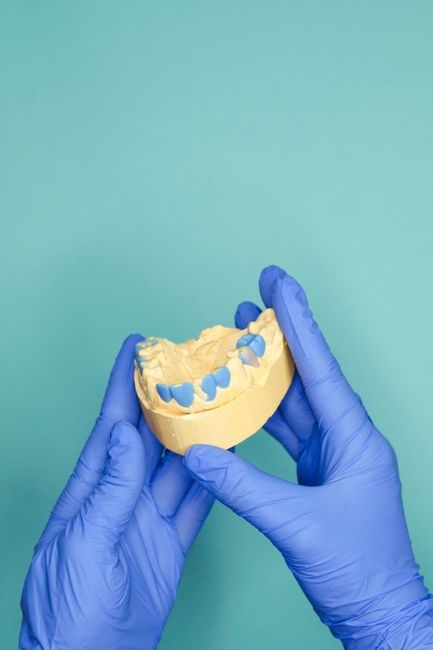
Video Guides and Trusted Resources
For those seeking visual instruction, several reputable videos and websites offer step‑by‑step guidance on creating, fitting, and maintaining a night guard. Dr. Anthony Lovat, dentist and founder of OPRO Mouthguards, presents a concise tutorial that walks viewers through the entire process—from taking a quick impression to the final fit; The video emphasizes the importance of a snug seal and demonstrates how to adjust the guard for comfort, while also highlighting common pitfalls such as over‑stretching the material or leaving air pockets that can cause irritation.
Oral‑B’s custom night guard series features a 3‑minute mold‑in‑action demonstration, highlighting the ease of shaping the protective layer with a simple microwave process. The clip showcases how the material softens, conforms to the teeth, and hardens into a durable barrier against grinding, and it includes a quick‑cleaning tip: rinse with lukewarm water and a mild, non‑abrasive soap immediately after use to preserve the surface integrity.
Rest in Peace Night Guard offers a user‑friendly guide that explains the “easy‑mold” technique, providing tips on how to hold the guard correctly and avoid over‑stretching. The accompanying FAQ section addresses common concerns such as cleaning methods and how to recognize wear, while also reminding users never to soak the guard in mouthwash or denture cleanser unless the manufacturer specifically permits it.
When selecting a resource, look for clear instructions, reputable creators, and up‑to‑date safety recommendations. Trusted platforms like YouTube’s verified dental channels, manufacturer websites, and professional dental associations provide reliable content. Always cross‑reference the video’s claims with written guidelines from the product’s official site to ensure consistency, and verify that the video reflects the latest industry standards for material safety and fit.
Remember that while videos can simplify the process, they should not replace professional evaluation if you have complex dental issues. Combining visual learning with a dentist’s assessment yields the best outcome for both comfort and longevity, ensuring that the guard continues to protect your teeth without compromising oral health.
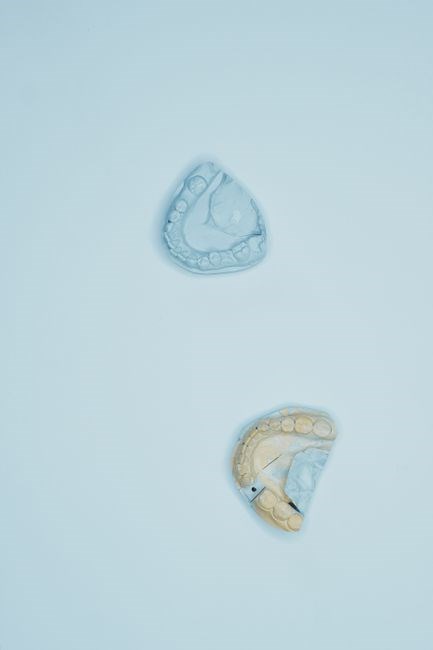
Safety Precautions and Best Practices
Before using a night guard, inspect the material for cracks or soft spots; any damage can compromise protection. Keep the guard in a cool, dry place when not in use, and avoid exposing it to high temperatures—do not leave it in a hot car or near a heat source. When removing the guard, rinse it immediately with lukewarm water and gently scrub with a soft toothbrush and mild, non‑abrasive soap; toothpaste should be avoided as it can scratch the surface. Do not soak the guard in mouthwash, denture cleanser, or hot water unless the manufacturer explicitly allows it. If the guard feels too tight after a few nights off, warm it briefly in warm (not hot) water, then test the fit again; this can soften the material without damaging it. Store the guard in its original case or a breathable pouch to prevent mold growth. Use a clean, dry cloth to wipe it after each cleaning cycle. Never share your guard with others, as bacteria can transfer and cause infections. If you notice persistent discomfort, discoloration, or a loss of fit, consult a dentist before continuing use. Following these precautions helps maintain the guard’s integrity, ensures consistent protection, and reduces the risk of oral irritation or injury. Check the fit nightly; if the guard shifts, adjust by gently bending the edges. Never chew on the guard; it can deform. Use a dedicated cleaning brush and avoid hot water, which can warp the material. Store in a ventilated case to prevent mildew. If you experience headaches or jaw pain, discontinue use and seek professional advice.

Frequently Asked Questions About Night Guards
Final Recommendations and Takeaway Tips
Wear your guard nightly—skipping nights can shift teeth and reduce fit. Warm the guard in lukewarm water if it feels tight after a break, then seat it gently. 2. Clean immediately after use: rinse with lukewarm water, brush with a soft toothbrush and mild soap, avoid abrasive toothpaste. 3. Store in a breathable case, not sealed plastic, to prevent mold. 4. Replace every 12–18 months or when you notice wear, cracks, or loss of comfort. 5. If you experience persistent pain, consult a dentist for adjustments or a custom fit. 6. Keep a nightly log: note any discomfort, how long you wore it, and any changes in symptoms. 7. Follow manufacturer instructions for any specific care steps. 8. Remember: a well‑maintained guard can extend your dental health and improve sleep quality. 9. If you notice any changes in bite alignment, schedule a follow‑up visit to adjust the guard for optimal fit. 10; Use a soft, non‑abrasive brush when cleaning to avoid surface scratches that can weaken the material over time. 11. Avoid exposing the guard to extreme temperatures; high heat can warp the shape, while freezing can make it brittle. 12. When traveling, keep a small travel case and a cleaning kit to maintain hygiene on the go. 13. Finally, remember that a night guard is an investment in long‑term oral health; consistent use, proper care, and timely replacement can prevent costly dental repairs, preserve natural tooth structure, and provide peace of mind for both you and your loved ones. 14. Keep it clean. Always.